Roof Vent Replacement Services Overview
Visitors will learn how local contractors handle roof vent replacement projects and how to compare service options in their area.
- - Residential homeowners seeking to improve attic airflow and ventilation.
- - Commercial property owners needing to ensure proper roof vent functionality.
- - Property managers looking for reliable local contractors to handle roof vent replacements.


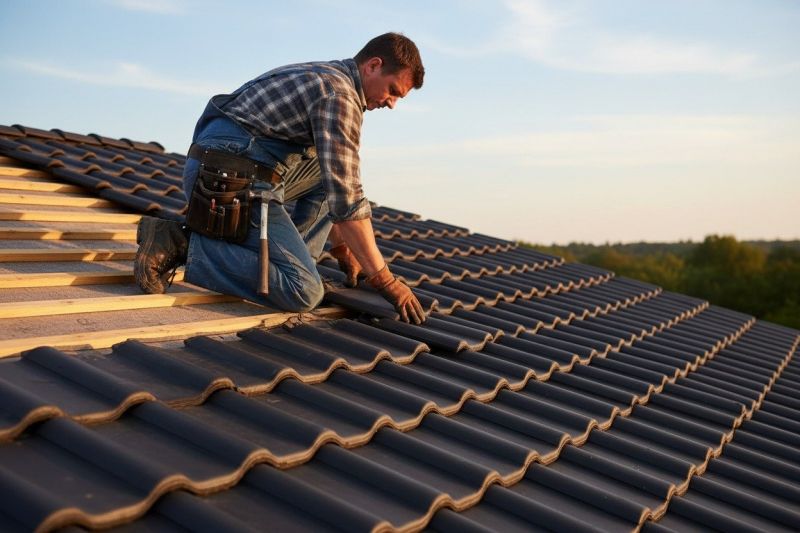
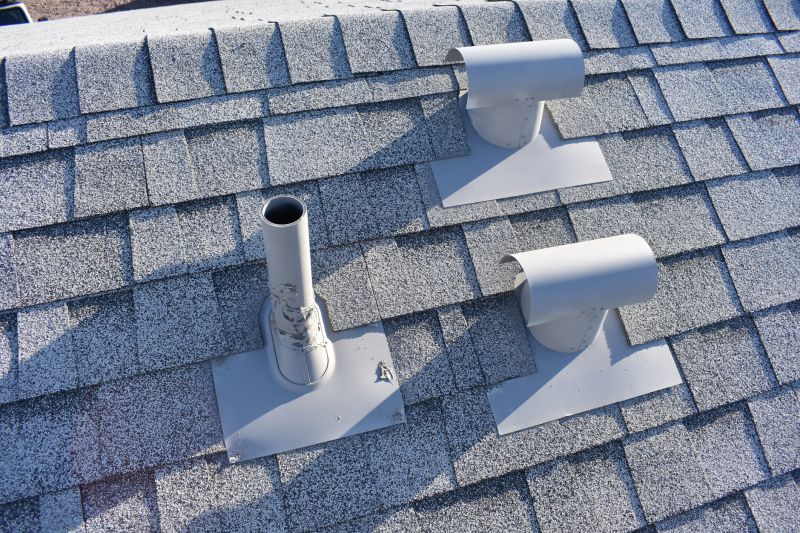
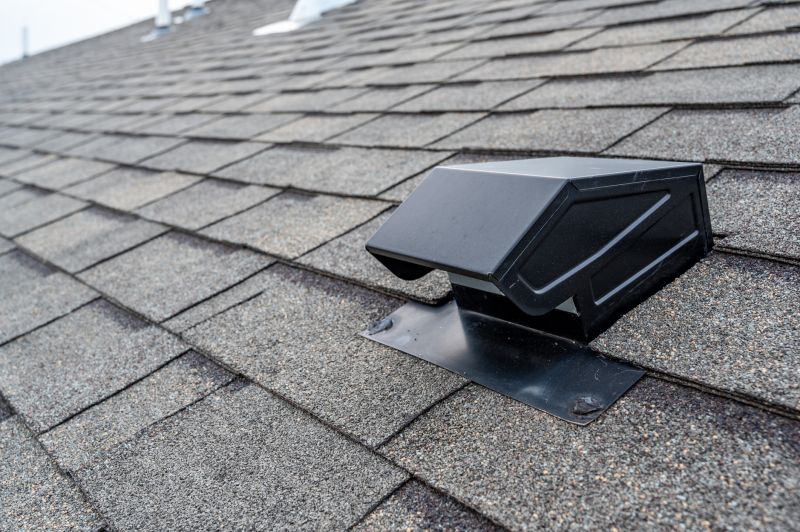
Roof vent replacement services involve upgrading or installing vents that help regulate airflow and moisture control within a building's roofing system. Property owners typically seek these services when existing vents are damaged, outdated, or no longer functioning properly, which can lead to issues like increased energy costs, mold growth, or roof damage. Local contractors specializing in roof vent replacement assess the condition of existing vents, recommend suitable options, and perform the work to ensure proper ventilation and protection for the property.
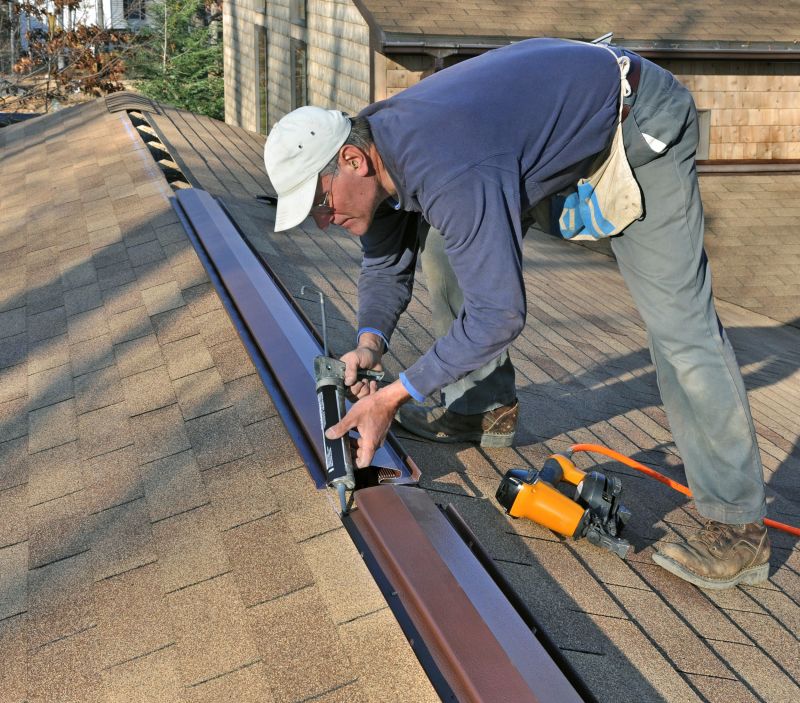
Local service providers who handle roof vent replacement bring practical experience in working with various roofing structures and materials. They offer tailored solutions based on the specific needs of each property, helping homeowners and business owners maintain a healthy, well-ventilated roof space. When seeking roof vent replacement, property owners can expect to work with professionals who understand local building conditions and can provide reliable, straightforward installation or upgrade services.
This guide provides helpful information to understand the process of roof vent replacement and what to consider before hiring a service provider. It assists in comparing local contractors and understanding the basics of the work involved. The goal is to help visitors make informed decisions when connecting with nearby service providers for their roof vent needs.